สารบัญเนื้อหา
- รายชื่อ 3rd Party Components ที่จะใช้
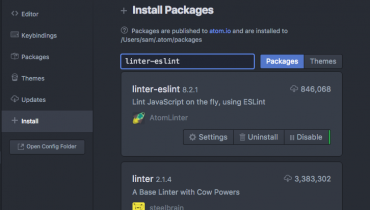
- ติดตั้งและใช้งาน Alertifyjs
- สร้าง Services สำหรับ Alertifyjs เพื่อแสดงข้อความแจ้งเตือน
- ติดตั้งและใช้งาน Angular JWT เพื่อช่วยจัดการ Token ให้ดีขึ้น
- ติดตั้งและใช้งาน NGX Bootstrap เพื่อเพิ่มประสิทธิภาพ Bootstrap แบบเดิม ๆ
- ติดตั้งและใช้งาน Theme โดยใช้ Bootswatch
1. รายชื่อ 3rd Party Components ที่จะใช้
- Alertifyjs
- Angular JWT
- NGX Bootstrap
- Bootswatch
2. ติดตั้งและใช้งาน Alertifyjs
npm install alertifyjsimport css ของ Alertifyjs ใน Styles.css
@import '../node_modules/alertifyjs/build/css/alertify.min.css';
@import '../node_modules/alertifyjs/build/css/themes/bootstrap.min.css';
3. สร้าง Services สำหรับ Alertifyjs เพื่อแสดงข้อความแจ้งเตือน
สร้างไฟล์ typings.d.ts ภายใต้ src
declare module 'alertifyjs'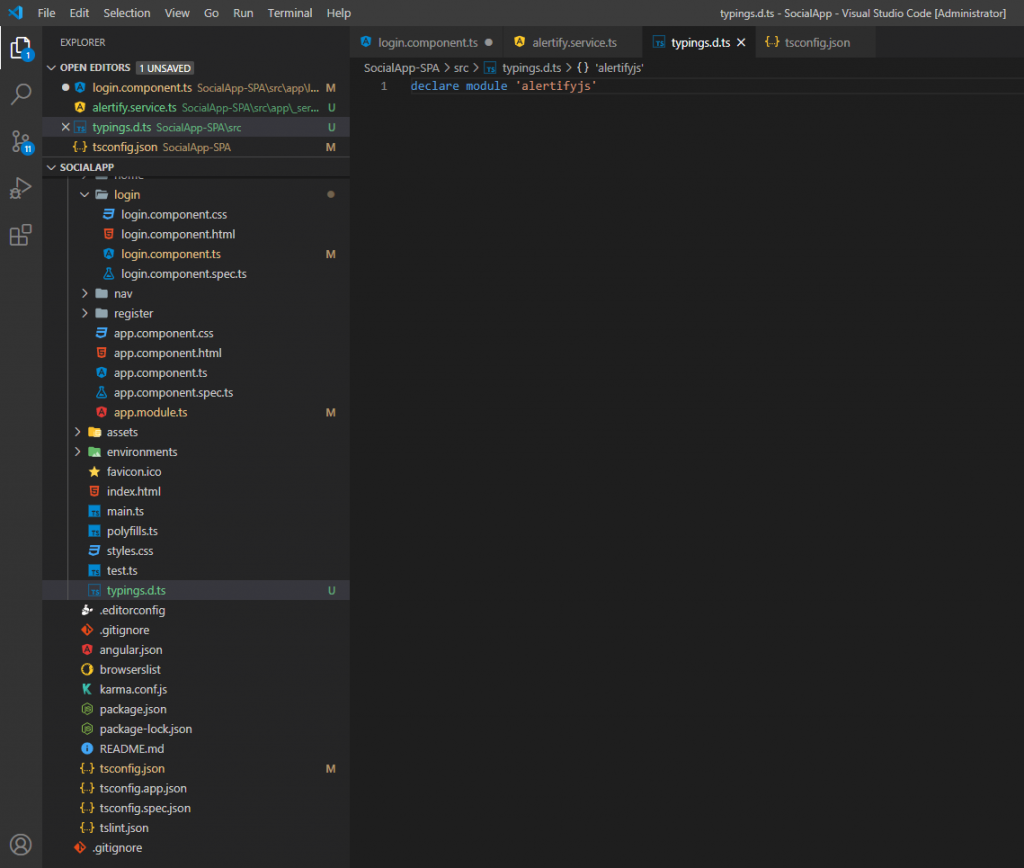
เพิ่ม config ใน tsconfig.json
"typeRoots": [
      "src/typings.d.ts"
]
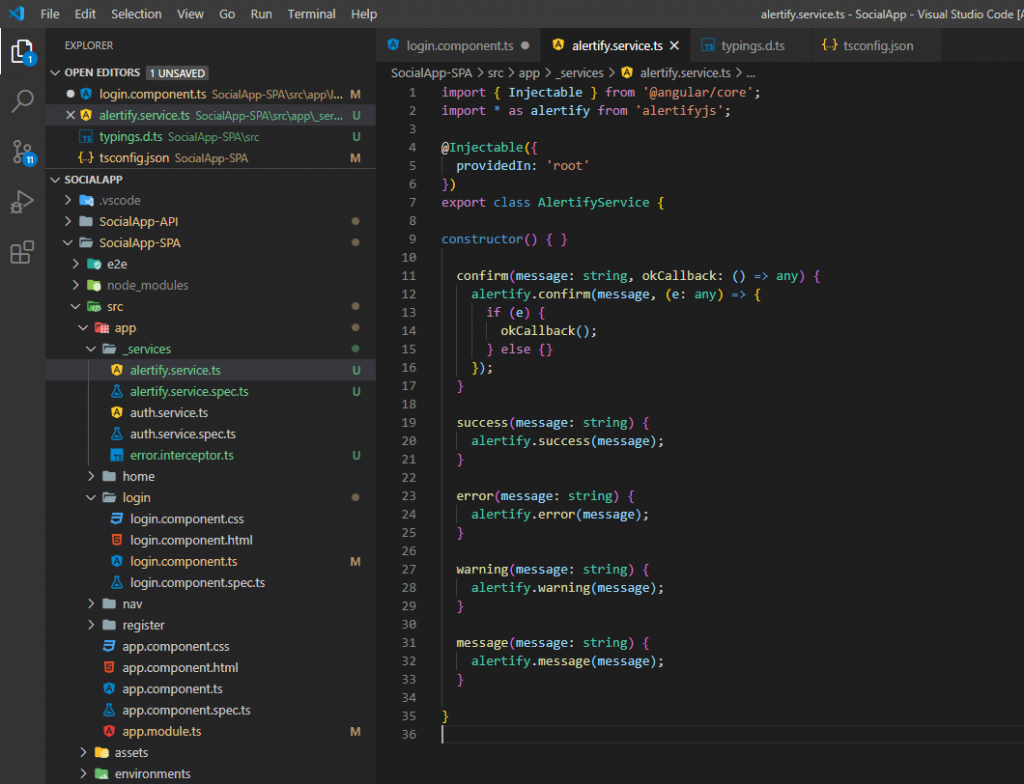
สร้าง Service alertify.service.ts
import { Injectable } from '@angular/core';
import * as alertify from 'alertifyjs';

@Injectable({
  providedIn: 'root'
})
export class AlertifyService {

constructor() { }

  confirm(message: string, okCallback: () => any) {
    alertify.confirm(message, (e: any) => {
      if (e) {
        okCallback();
      } else {}
    });
  }

  success(message: string) {
    alertify.success(message);
  }

  error(message: string) {
    alertify.error(message);
  }

  warning(message: string) {
    alertify.warning(message);
  }

  message(message: string) {
    alertify.message(message);
  }

}
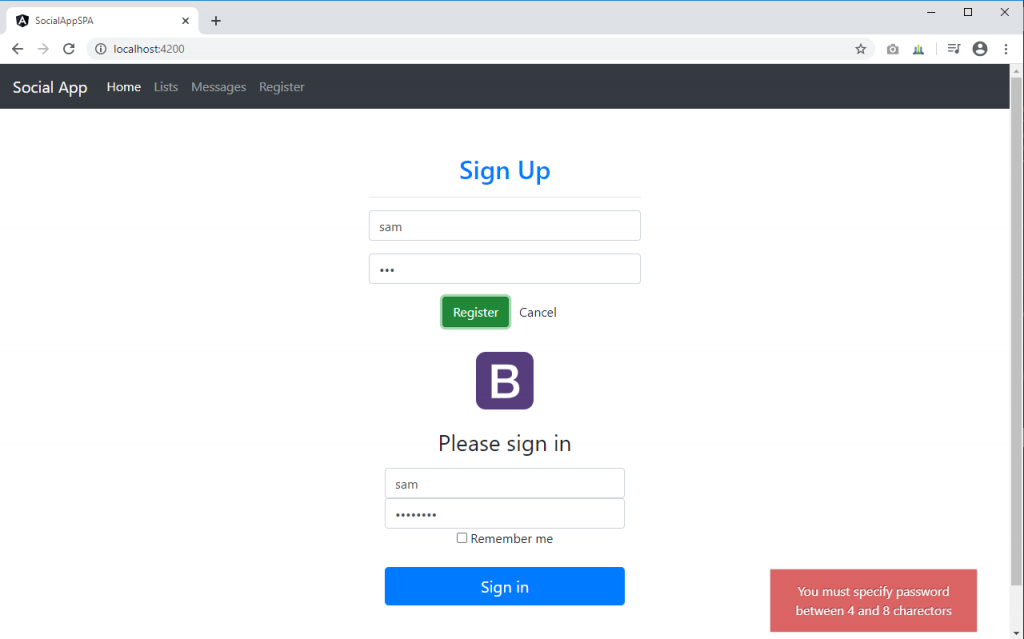
เรียกใช้ Alertify ทุกจุดที่ต้องการแสดงข้อความเตือน ตามประเภทที่ต้องการแจ้งเตือน
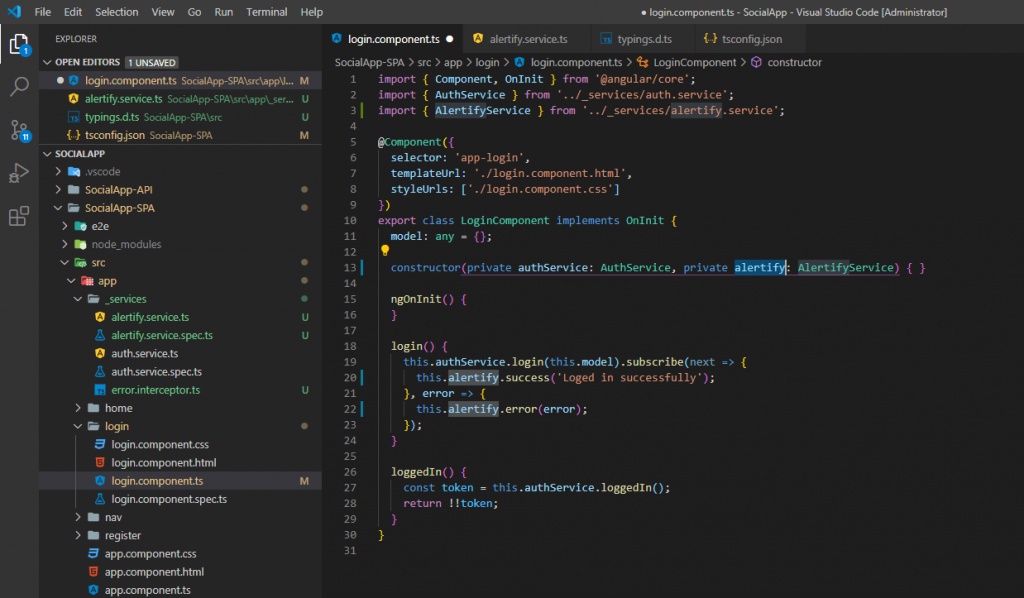
ทดลองรันและสังเกตุผลการแสดงข้อความเตือน
4. ติดตั้งและใช้งาน Angular JWT เพื่อช่วยจัดการ Token ให้ดีขึ้น
ติดตั้ง Angular JWT
npm install @auth0/[email protected]ทำการ import และเรียกใช้ เพื่อตรวจสอบว่า Token นั้นหมดอายุหรือยังใน Login Service
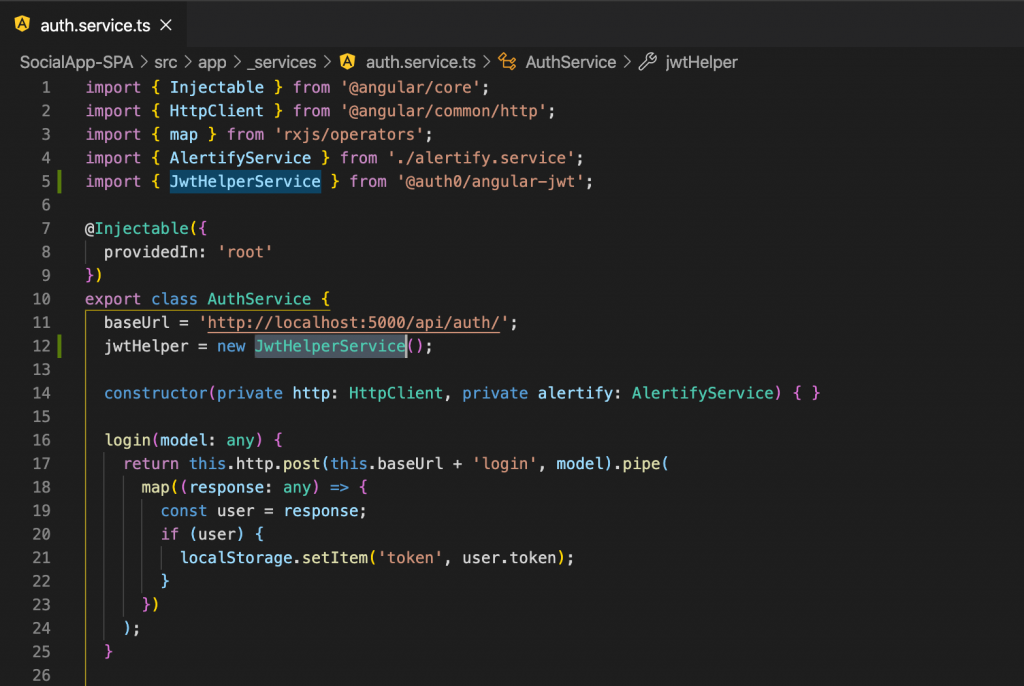
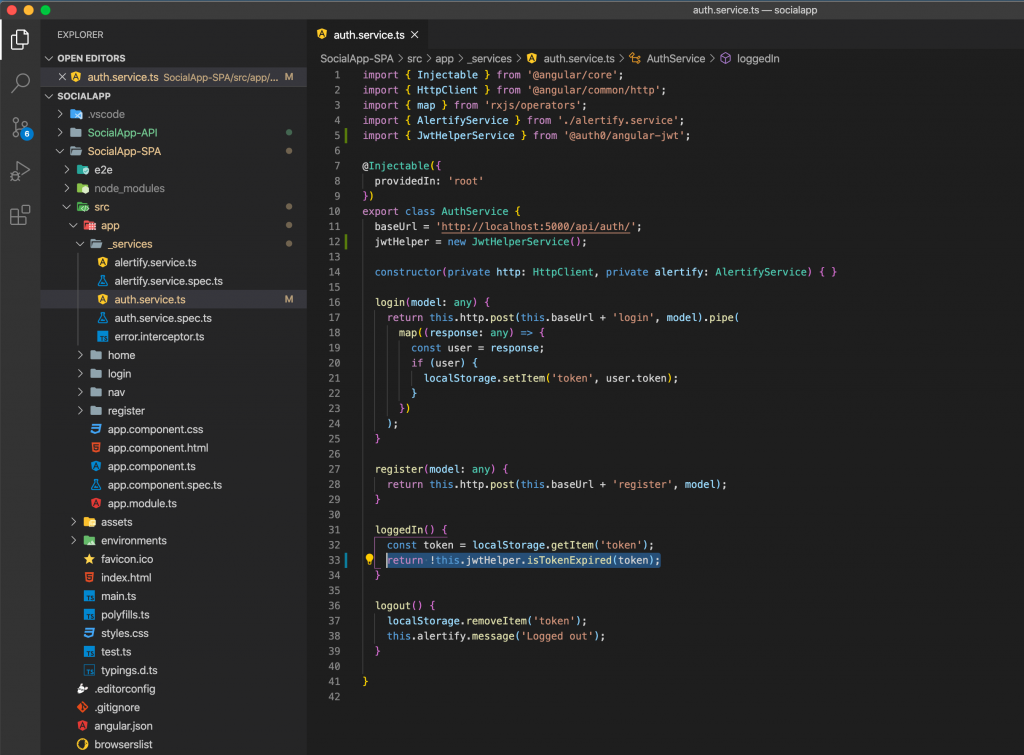
สร้างตัวแปร decodeToken ใน Auth.service.ts
decodeToken: any;Decode Token ที่มีอยู่ใน app.component.ts
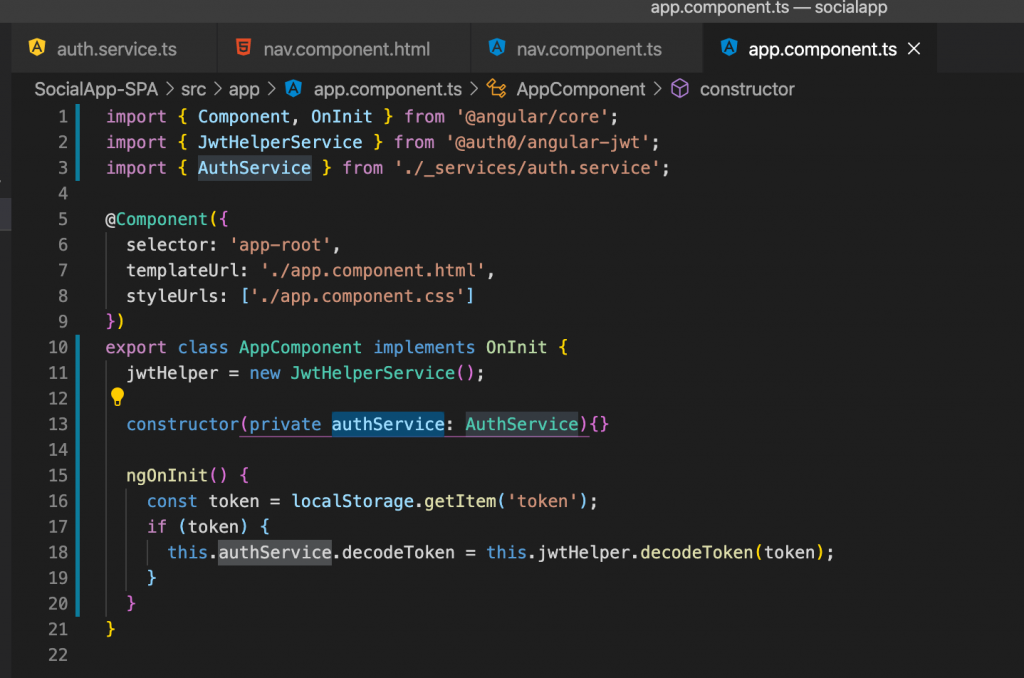
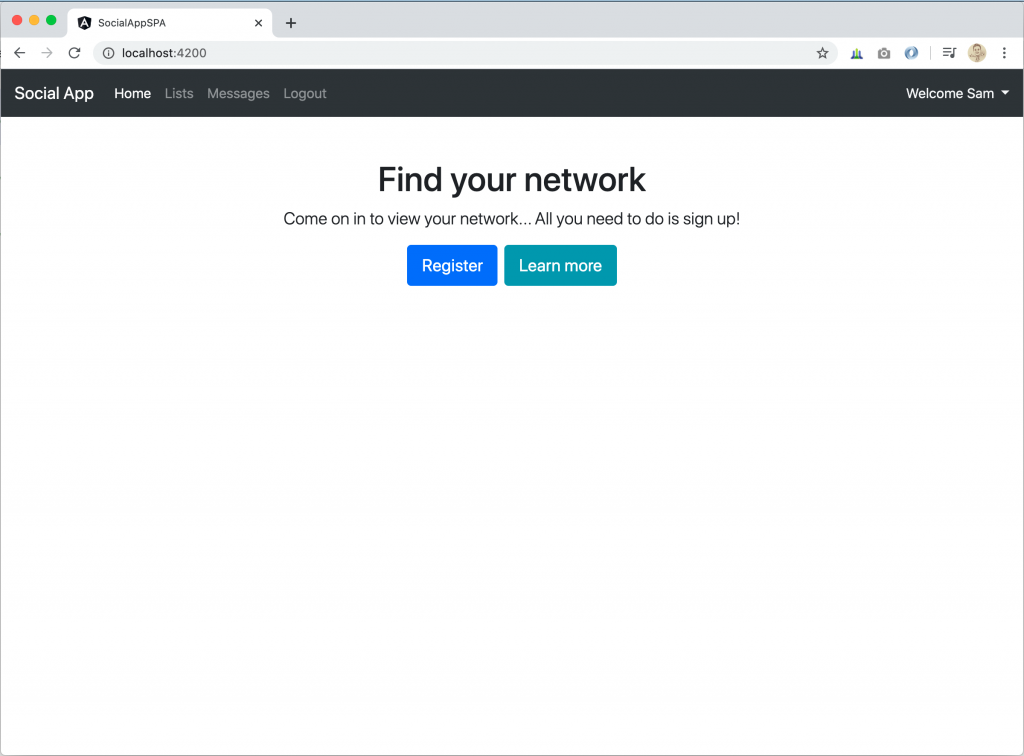
แสดงชื่อ User ที่ Login ใน nav.component.html
อย่าลืมทำ injection authService ใน constructor ก่อนนะ
constructor(public authService: AuthService) { }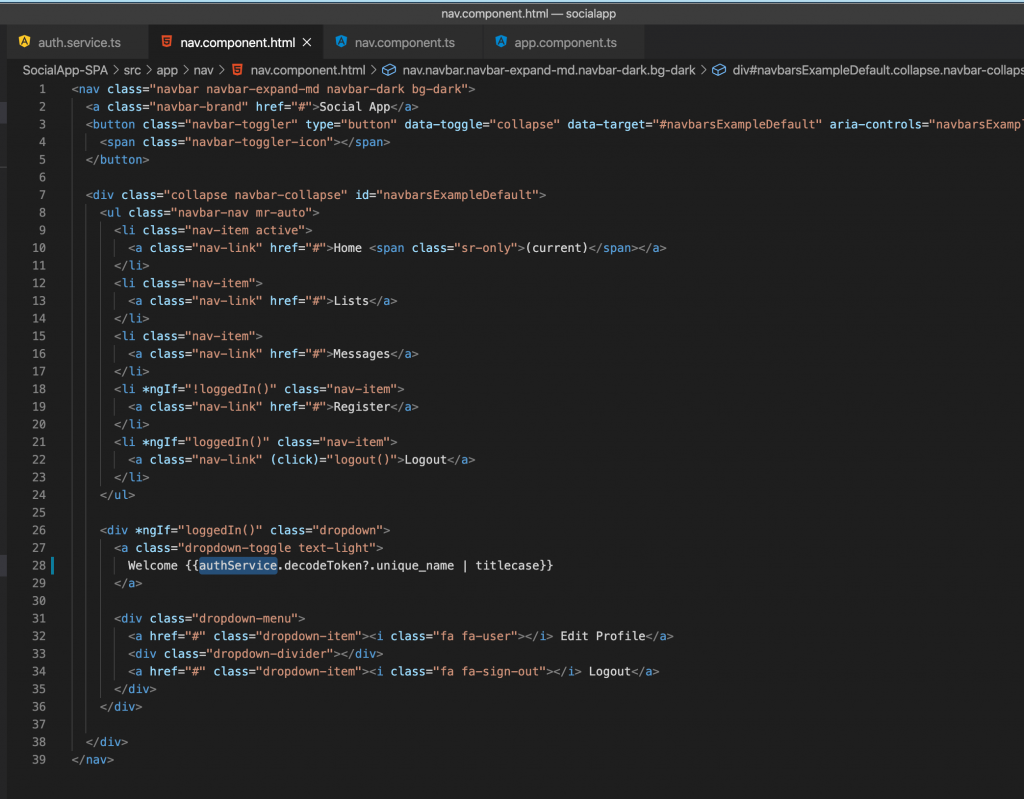
5. ติดตั้งและใช้งาน NGX Bootstrap เพื่อเพิ่มประสิทธิภาพ Bootstrap แบบเดิม ๆ
ติดตั้ง NGX Bootstrap
npm install ngx-bootstrapหรือ (แนะนำให้ใช้คำสั่งนี้)
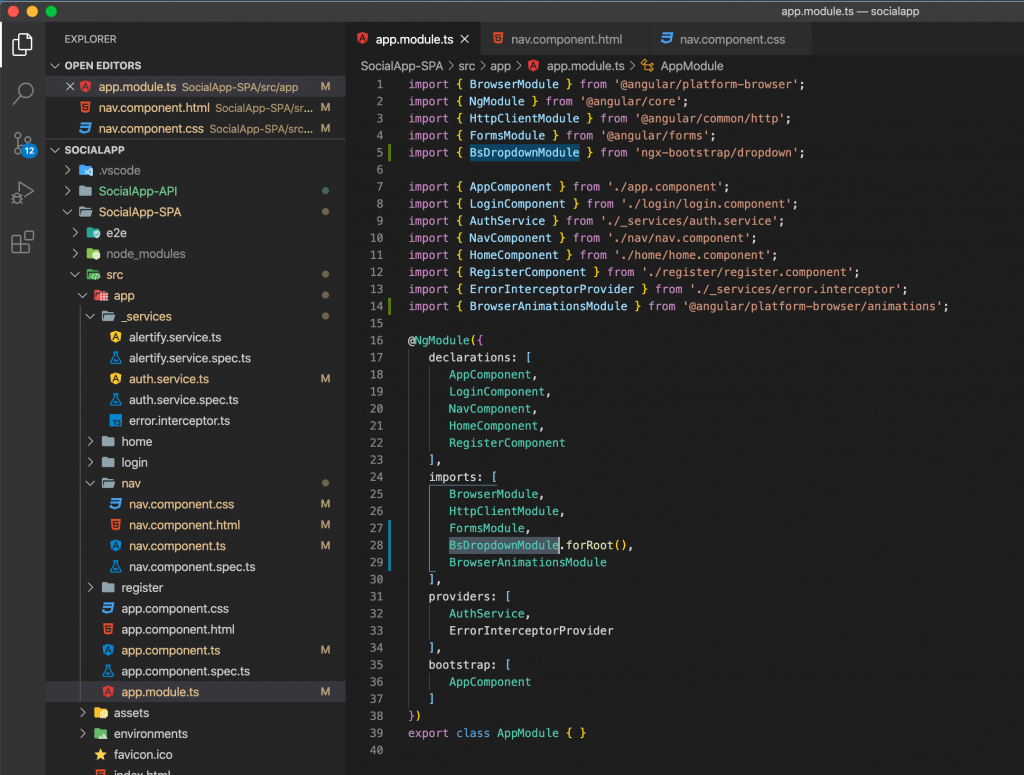
ng add ngx-bootstrapทำการ Import Module
ปรับปรุงโค้ดเมนู nav.component.html
<nav class="navbar navbar-expand-md navbar-dark bg-dark">
  <div class="container">
    <a class="navbar-brand" href="#">Social App</a>
    <button class="navbar-toggler" type="button" data-toggle="collapse" data-target="#navbarsExampleDefault"
      aria-controls="navbarsExampleDefault" aria-expanded="false" aria-label="Toggle navigation">
      <span class="navbar-toggler-icon"></span>
    </button>

    <div class="collapse navbar-collapse" id="navbarsExampleDefault">
      <ul class="navbar-nav mr-auto">
        <li class="nav-item active">
          <a class="nav-link" href="#">Home <span class="sr-only">(current)</span></a>
        </li>
        <li class="nav-item">
          <a class="nav-link" href="#">Lists</a>
        </li>
        <li class="nav-item">
          <a class="nav-link" href="#">Messages</a>
        </li>
        <li *ngIf="!loggedIn()" class="nav-item">
          <a class="nav-link" href="#">Register</a>
        </li>
      </ul>

      <div *ngIf="loggedIn()" class="dropdown" dropdown>
        <a class="dropdown-toggle text-light" dropdownToggle>
          Welcome {{authService.decodeToken?.unique_name | titlecase}}
        </a>

        <div class="dropdown-menu" *dropdownMenu>
          <a href="#" class="dropdown-item"><i class="fa fa-user"></i> Edit Profile</a>
          <div class="dropdown-divider"></div>
          <a (click)="logout()" class="dropdown-item"><i class="fa fa-sign-out"></i> Logout</a>
        </div>
      </div>

    </div>
  </div>
</nav>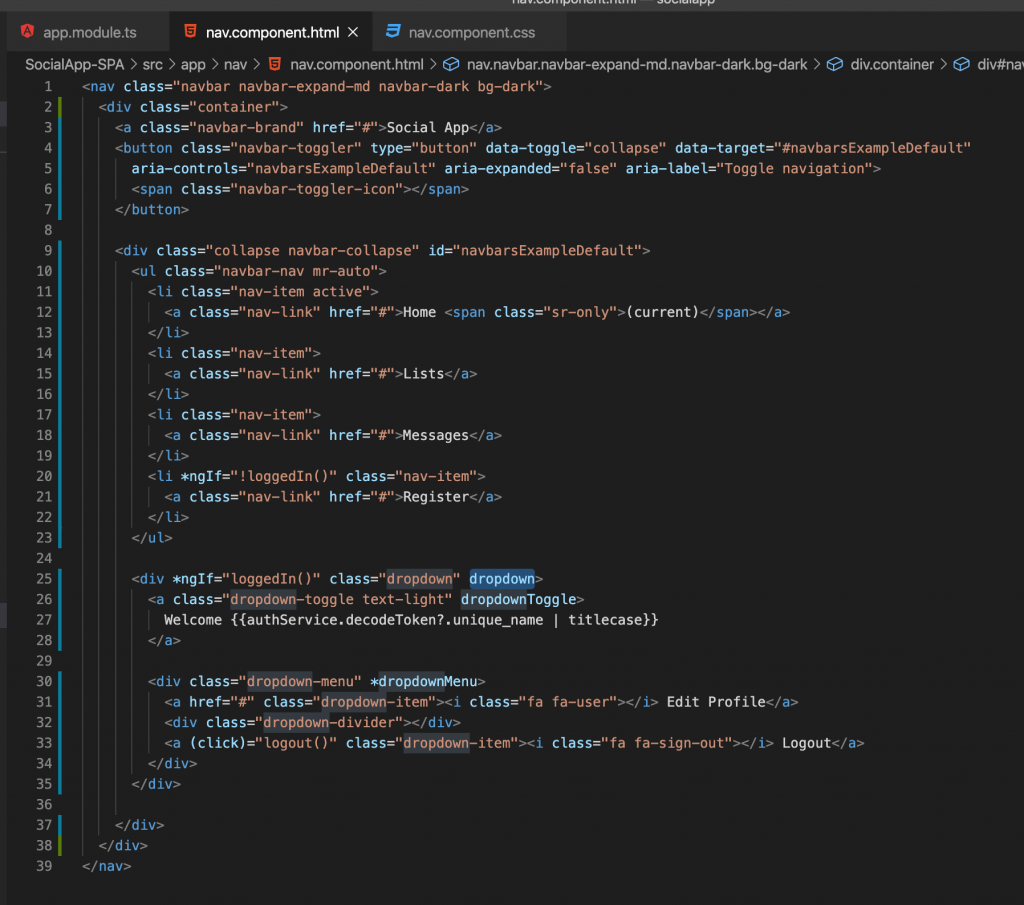
เพิ่ม css ใน nav.component.css

.dropdown-toggle, .dropdown-item {
    cursor: pointer;
}
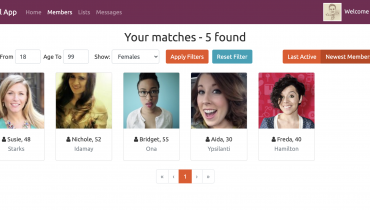
ทดสอบรัน

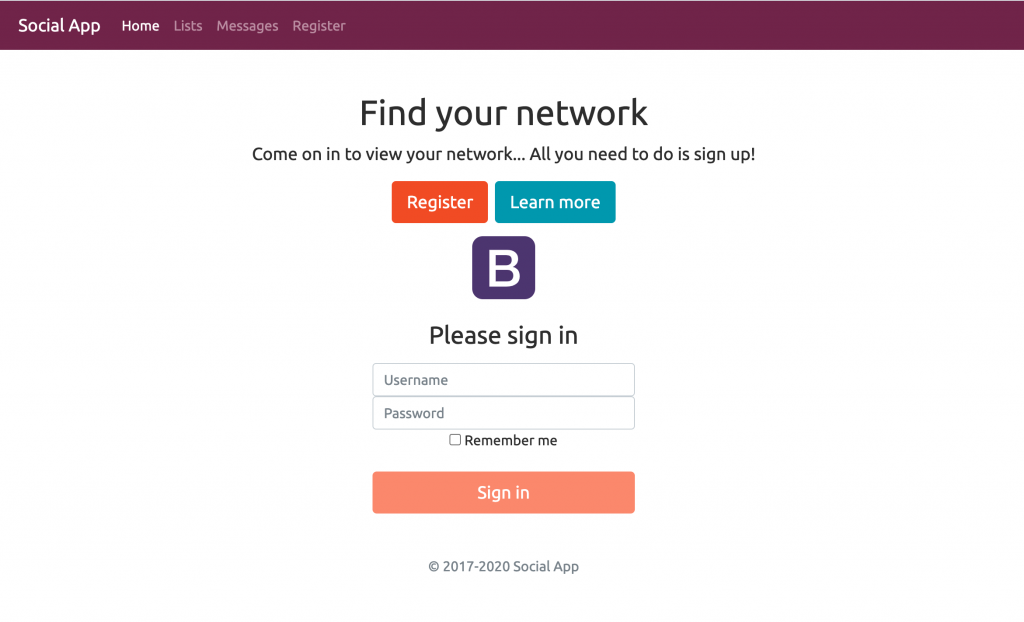
6. ติดตั้งและใช้งาน Theme โดยใช้ Bootswatch
ติดตั้ง Bootswatch
npm install bootswatchกำหนด Theme ใน Styles.css
@import '../node_modules/bootswatch/dist/united/bootstrap.min.css';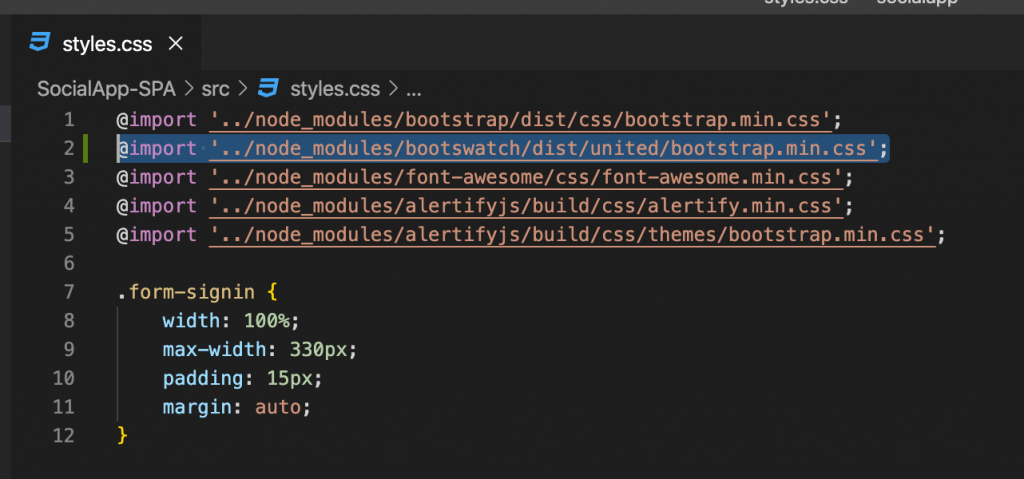
ทดสอบรัน
โปรดติดตามตอนต่อไป…
